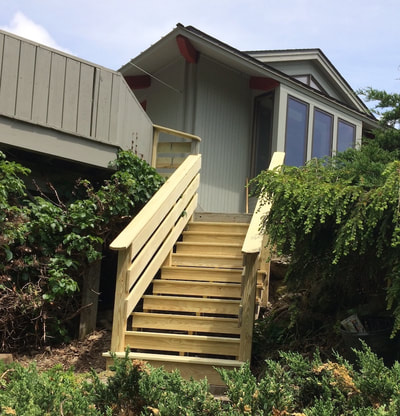
Your Deck - By blue river
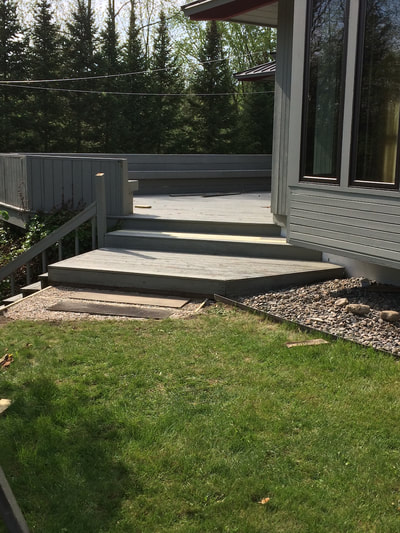
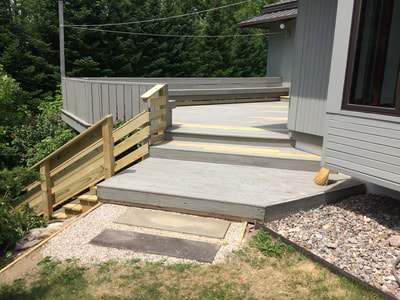
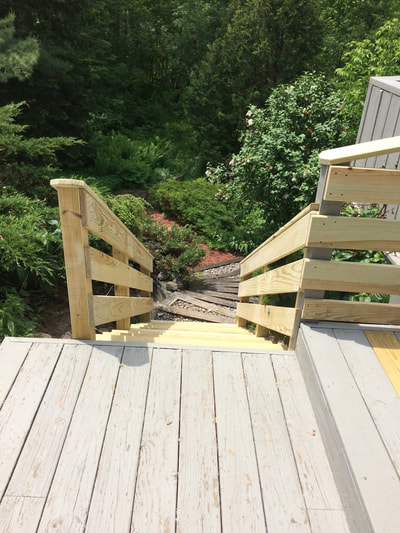
The pictures are somewhat self evident. They start with how things were before I started and end with the finished product, plus and extra image to show the rotted decking.
'The images below are a brief over view of the deck replacement program. My first idea about this was to just cut out the rotted sections but, there were so many that became impractical and would have left the decking looking really patchy and chopped up. So, I decided to get the steps off the deck and replace the pieces all the way to the edge. Turns out that was a good idea from another aspect as well. Even though they were pretty well attached and tight, rodents had gotten under there and loaded the space up with piles of seeds, excrement and so on. Removing the steps gave me the chance to clean all that out and create better attachment detail to make removing them in the future easier should anyone want to look in there and clean them out periodically. I drilled holes in the decking under the steps to aid in drainage.
The decking for the steps turned out to be pretty weather checked and cracked so some of that needed replacing too. Seems that some of the screws and nails that were used on it weren't made for exterior use as well and many were broken or near the end of their life span as well.
The biggest problem with that deck and many others I've worked on is the builders didn't leave enough space between the decking pieces, causing water to sit on them and rot the wood. Even pressure treated wood will rot given enough time and severe conditions. Debris collects in between the cracks as well and that holds onto moisture long after the decking has dried in the sun.
These repairs aren't just aesthetic in nature, they're safety related. The step is now attached, see the last few pictures, with galvanized right angle brackets and screws on the front for easy removal if needed. The rear of the step is lag screwed to the house with three lags. That's how I found it. The flashing and attachment detail up against the house was well done by the previous builder.
The last picture in this set shows another discovery I made. The posts that hold up the railing/bench on the deck were poorly attached and are coming loose. I'll went around and lifted them up if possible and secured them in place, as is, by tightening up the nuts on the bolts and applying cap screws to the assembly to give them more and better support going forward.
These pictures are all pretty much all different views of the same thing provided just so you can see what I see and understand why it's imperative to replace these stairs and why just a repair wasn't possible. Most of the treads I pulled up were so loose I pulled them up by hand, without tools. They needed 3 stringers there but used only two so the span on the steps was too great. To compensate for the lack of support across the four foot width of the steps they used 2" x 6" lumber for the treads which required 16 penny nails to hold down and more force to apply them and that split the stringer lumber open and its been down hill from the start with these stairs.
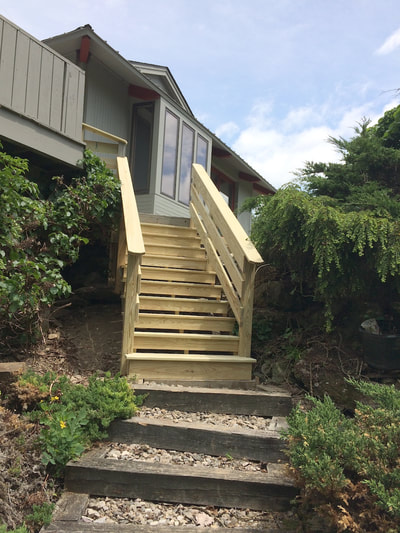
I used 3 - 2" x 12" x 12' pressure treated stringers and 5/4" x 6" treads for the new stairs and did not replace the risers as built so as to leave air space around the assembly to prevent rot, mold and mildew. The space also makes for easy sweeping of the steps going forward. The area is so over grown with vegetation now it doesn’t get much air circulation and as such the wood is unable to dry out between wet spells. I used "Tek" screws as fasteners as I have everywhere else. It’s pretty standard practice these days to use screws on most things instead of galvanized nails. The screws cost more than nails but they don’t beat up the lumber and make a much cleaner assembly all around and, since they are screws, it makes any future modifications or repairs a whole lot easier. You don’t have to beat up the assembly with hammers, mauls and wrecking bars to get it apart.
I poured another concrete footing at the bottom like I did for the landing to set the stairs on too. The ones being replaced seemed to be just sitting in the dirt which appeared to be topsoil! Good news is, after the new stairs are in they won’t be leaning to one side anymore like the old ones and there will be a railing on both sides. With a solid footing at the bottom and the deck leveled at the top they’ll look really nice and be very safe. The old ones tilted to the left as you went down them because the landing at the top had sagged.
I moved the electrical outlet in the last picture up onto one of the posts to keep it out of the snow and wet too.
I probably could have included the photos below with the ones above, at least the ones showing the damage. Below you'll see the evolution of the new stairs though.
